VMware ESXi and vCenter on KVM with CloudStack
Last Updated: Aug 4, 2015I’ve two KVM hosts based on Ubuntu 14.04 and 15.04 that I use for CloudStack development and testing. The Ubuntu 14.04 based host is managed by CloudStack and the Ubuntu 15.04 based host is my workstation. In order to develop and test CloudStack with VMware I always wanted a DevCloud like appliance that could run ESXi/vCenter, this post explains how you can build your own DevCloud-VMware.
Enable nested virtualization on KVM host:
$ echo options kvm ignore_msrs=1 >> /etc/modprobe.d/qemu-system-x86.conf
$ echo options kvm-intel nested=y ept=y >> /etc/modprobe.d/qemu-system-x86.conf
Next, we will need to patch and build our own qemu-system package. To do that, either build qemu with the following patch or get the source qemu package from Ubuntu and build your own. I’ve some prebuilt packages here.
As an example, the following worked for me on Ubuntu 14.04.2:
$ wget http://archive.ubuntu.com/ubuntu/pool/main/q/qemu/qemu_2.0.0+dfsg-2ubuntu1.15.dsc
$ wget http://archive.ubuntu.com/ubuntu/pool/main/q/qemu/qemu_2.0.0+dfsg.orig.tar.xz
$ wget http://archive.ubuntu.com/ubuntu/pool/main/q/qemu/qemu_2.0.0+dfsg-2ubuntu1.15.debian.tar.gz
$ tar xvfJ qemu_2.0.0+dfsg.orig.tar.xz
$ tar zxvf qemu_2.0.0+dfsg-2ubuntu1.15.debian.tar.gz
$ mv debian qemu_2.0.0+dfsg
$ cd qemu_2.0.0+dfsg
Install qemu-kvm dependencies or simply run apt-get build-dep qemu-kvm.
Next, apply this patch:
--- qemu-2.0.0+dfsg.orig/hw/i386/pc_piix.c
+++ qemu-2.0.0+dfsg/hw/i386/pc_piix.c
@@ -205,7 +205,7 @@ static void pc_init1(QEMUMachineInitArgs
    pc_vga_init(isa_bus, pci_enabled ? pci_bus : NULL);

    /* init basic PC hardware */
-    pc_basic_device_init(isa_bus, gsi, &rtc_state, &floppy, xen_enabled(),
+    pc_basic_device_init(isa_bus, gsi, &rtc_state, &floppy, 1,
        0x4);

    pc_nic_init(isa_bus, pci_bus);
Finally, commit the patch and build the package:
$ dpkg-source --commit
$ dpkg-buildpackage -uc -us -j4
Assuming you’re on x86 architecture, install the qemu-system-x86 package:
$ dpkg -i ../qemu-system-x86_2.0.0+dfsg-2ubuntu1.15_amd64.deb
$ apt-mark hold qemu-system-x86
In my case I setup a ESXi 5.5 VM with NIC adapter set to vmxnet3.
NIC adapter to vmxnet3. In case of CloudStack, you can update the VM details
using CloudMonkey:
$ cloudmonkey update virtualmachine id=382ba742-125b-45fa-8c50-d0c8608c3b59 details[0].nicAdapter=vmxnet3
With CloudStack 4.5.1 and above, I recommend following settings (at least vmx) in the agent.properties for maximum efficiency:
guest.cpu.mode=host-passthrough
guest.cpu.features=vmx smx ept vnmi ht lm
Next, install ESXi 5.5 with at least 8GB RAM and 4 cores. Once done, enable SSH and ESXi shell on the host.
SSH to the ESXi VM, add the following to /etc/vmware/config and reboot the host:
hv.assumeEnabled="TRUE"
vhv.allow = "TRUE"
vhv.enable = "TRUE"
vmx.allowNested = "TRUE"
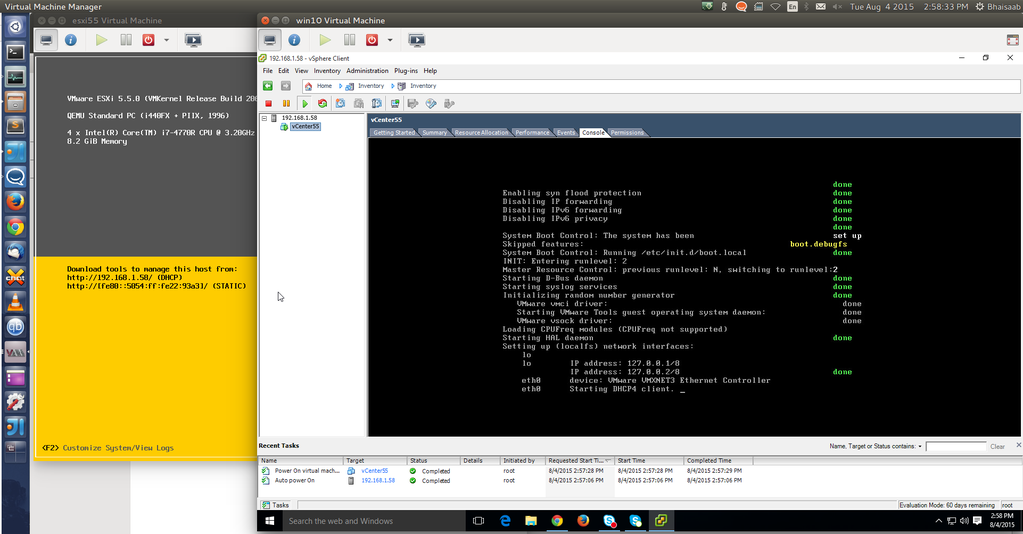
For some reason, vCenter 5.5 on Windows Server 2008 R2 never worked for me; so I tried using the vCenter 5.5 ova appliance which worked for me. I also could not get the vSphere client to upload the ova to the ESXi host, but ovftool tool worked for me:
$ ovftool --diskMode=thin --name=vCenter55 VMware-vCenter-Server-Appliance-5.5.0.10200-1891314_OVF10.ova vi://root@password:192.168.1.58/
  Opening OVA source: VMware-vCenter-Server-Appliance-5.5.0.10200-1891314_OVF10.ova
  The manifest validates
  Source is signed and the certificate validates
  Enter login information for target vi://192.168.1.58/
  Username: root
  Password: ********
  Opening VI target: vi://root@192.168.1.58:443/
  Deploying to VI: vi://root@192.168.1.58:443/
  Transfer Completed
  Completed successfully
Once done, you can reduce the vCenter VM RAM to 2-3GB using the vSphere 5.5 Windows client. Once vCenter VM has started you can open the vCenter URL in your browser to configure it, and later use the vSphere client to add the host to the vCenter VM. I had issue with running certain ESXi 5.5 ISOs on Ubuntu 14.04, but on Ubuntu 15.04 it has worked out of the box so I recommend using Ubuntu 15.04.
Update: For ESXi 6.0, you can simply use E1000 based nic. For qemu 2.2+, you don’t need to patch the qemu-system-x86 package but instead add the following in the VM’s virt xml directly:
  virsh edit <domain name>

  <features>
    <kvm>
      <hidden state='on'/>
    </kvm>
    <vmport state='off'/>
  </features>